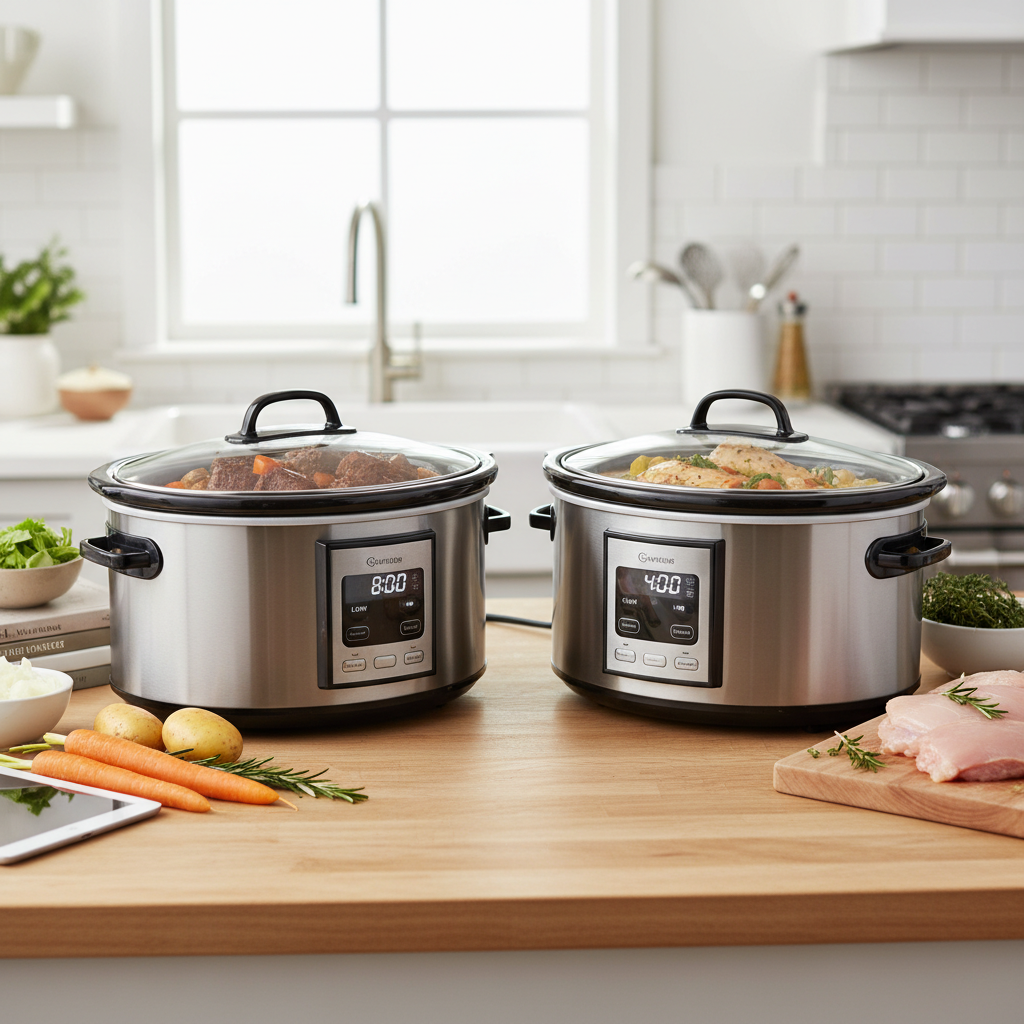
Imagine waking up to a fresh batch of homemade, perfectly creamy yogurt, ready to kickstart your day. This isn’t a dream reserved for professional chefs; it’s a simple reality made possible with your trusty slow cooker. If you’ve ever yearned for the rich, probiotic goodness of homemade yogurt but felt daunted by complex recipes or specialized equipment, you’re in the right place. This guide will walk you through every step of transforming basic ingredients into delicious, nourishing yogurt, effortlessly, right in your slow cooker, often while you sleep. Say goodbye to store-bought varieties and hello to customizable, cost-effective, and incredibly satisfying homemade goodness.
What is Slow Cooker Yogurt and Why Make It?
Slow cooker yogurt is exactly what it sounds like: yogurt made using the gentle, consistent heat of a slow cooker. This method leverages the appliance’s ability to maintain specific temperatures for extended periods, creating an ideal environment for beneficial bacteria to ferment milk into yogurt. It’s a remarkably hands-off process, making it perfect for busy individuals or anyone looking to simplify their kitchen routine.
The benefits of making your own slow cooker yogurt are manifold. Firstly, it offers significant cost savings compared to purchasing store-bought alternatives, especially for organic or Greek varieties. Secondly, you gain complete control over ingredients, allowing you to choose the type of milk, avoid unwanted additives, and customize the flavor profile to your liking. This also ensures a fresh supply of live, active probiotic cultures, which are crucial for gut health. Finally, the convenience factor is unparalleled. With minimal active preparation time, you can set it and forget it, letting your slow cooker do the hard work overnight, yielding a fresh batch by morning.
Essential Ingredients and Equipment
Before diving into the process, gathering the right ingredients and tools will set you up for success. Making slow cooker yogurt requires just a few basic items, most of which you likely already have in your kitchen.
Key Ingredients:
- Milk: One gallon (approximately 3.8 liters) of whole milk is typically recommended for a rich, creamy texture, though skim, 2%, or even non-dairy milks can be used with varying results. Ultra-pasteurized milk may not set as well as traditionally pasteurized milk due to changes in milk proteins.
- Yogurt Starter: This is the crucial ingredient containing the live active cultures needed to ferment the milk. You can use:
- Plain yogurt with live active cultures: Ensure the label explicitly states “live active cultures.” A half cup to one cup is usually sufficient. Avoid flavored yogurts or those with additives.
- Direct-set yogurt starter culture: Available in powdered form, these are often single-use packets. Follow the package instructions for quantity.
|
Our Picks for the Best Slow cooker in 2026
As an Amazon Associate I earn from qualifying purchases.
|
||
| Num | Product | Action |
|---|---|---|
| 1 | Crock-Pot 7-Quart Manual Slow Cooker, Family Size Serves 8+ People or Fits 6-lb Roast, Removable Stoneware with Warming Setting, Dishwasher Safe for Easy Cleanup, Charcoal |

|
| 2 | Instant Pot Duo 7-in-1 Electric Pressure Cooker, Slow Cooker, Rice, Steamer, Sauté, Yogurt Maker, Warmer & Sterilizer, Includes App With Over 800 Recipes, Stainless Steel, 6 Quart |
|
| 3 | Hamilton Beach 6-Quart Slow Cooker with 3 Cooking Settings, Dishwasher-Safe Stoneware Crock & Glass Lid, Silver (33665G) |
|
| 4 | Crock-pot Express Crock Slow Cooker 8 quart Red |
|
| 5 | Ninja® 12-in-1 PossibleCooker™ PLUS | 8.5-qt - Sous Vide & Proof Multi-Cooker | Slow Cooker, Dutch Oven & More | Glass Lid & Integrated Spoon | Nonstick | Oven Safe Pot to 500°F | Black | MC1010 |
|
| 6 | Crock-Pot 7 Quart Oval Manual Slow Cooker, Stainless Steel (SCV700-S-BR), Versatile Cookware for Large Families or Entertaining |
|
| 7 | Hamilton Beach Slow Cooker, Extra Large 10 Quart, Stay or Go Portable With Lid Lock, Dishwasher Safe Crock, Black (33195) |
|
| 8 | Crock-Pot Large 8-Quart Programmable Slow Cooker with Auto Warm Setting Black Stainless Steel |
|
| 9 | Sweetcrispy 16-in-1 Electric Pressure Cooker 6QT, 12-Preset Multi Cookers with Ceramic Pot, Slow Cook Rice Steamer Sauté Soup Yogurt Maker and More, Recipe Book |
|
| 10 | Crock-Pot 6 Quart Cook & Carry Programmable Slow Cooker with Digital Timer Stainless Steel (CPSCVC60LL-S) pack of 1 |
|
Essential Equipment:
- Slow Cooker (Crock-Pot): A 5-7 quart slow cooker is ideal for a gallon of milk. The ceramic insert is perfect for even heat distribution.
- Food Thermometer: Absolutely essential for monitoring milk temperature accurately. An instant-read thermometer is best, but a candy thermometer also works. Precision here prevents killing the cultures or failing to set the yogurt.
- Whisk or large spoon: For thoroughly mixing the milk and starter.
- Thick kitchen towels or a blanket: Used to insulate the slow cooker during the culturing phase.
- Storage containers: Glass jars or airtight containers for refrigerating your finished yogurt.
- (Optional) Cheesecloth and colander: For straining whey if you desire thicker Greek-style yogurt.
Step-by-Step Guide: Making Yogurt in Your Slow Cooker Overnight
Making yogurt in your slow cooker is a straightforward process broken down into several key stages: heating, cooling, culturing, and chilling. Follow these steps for a delicious, homemade batch.
Step 1: Scald the Milk (Heating)
The first step involves heating the milk to a specific temperature, known as scalding. This process denatures the milk proteins, which helps create a thicker yogurt texture, and also kills any undesirable bacteria that might compete with your yogurt cultures.
- Pour your desired amount of milk (e.g., one gallon) directly into the ceramic insert of your slow cooker.
- Place the lid on the slow cooker and set it to the “LOW” setting.
- Heat the milk for approximately 2.5 to 3 hours. During this time, the milk should reach a temperature of 180°F (82°C). Use your food thermometer to check the temperature periodically. Some slow cookers heat faster than others, so monitoring is key to avoid scorching the milk or overheating it.
Step 2: Cool the Milk
After scalding, the milk needs to cool down to a specific temperature before you can add the starter cultures. If the milk is too hot, it will kill the beneficial bacteria in your starter, preventing the yogurt from setting.
- Once the milk reaches 180°F (82°C), turn off and unplug your slow cooker.
- Leave the lid on and allow the milk to cool naturally within the slow cooker for approximately 3 hours. The goal is for the milk to cool down to between 105°F and 115°F (40°C-46°C), with 110°F (43°C) being ideal. This temperature range is optimal for the live active cultures to thrive.
- Check the temperature with your thermometer regularly during this cooling period. The cooling time can vary based on your slow cooker and room temperature.
Step 3: Introduce the Starter
This is where the magic begins! Adding the starter culture introduces the beneficial bacteria that will transform your milk into yogurt.
- Once the milk has cooled to 105-115°F (40°C-46°C), remove about 1 to 2 cups of the warm milk from the slow cooker and place it in a separate bowl.
- Add your yogurt starter (either 1/2 to 1 cup of plain yogurt with live active cultures or your powdered starter according to package directions) to this smaller amount of milk.
- Whisk thoroughly until the starter is completely dissolved and smoothly incorporated into the milk. This step helps activate the cultures and ensures even distribution.
- Pour the starter-milk mixture back into the slow cooker with the rest of the cooled milk.
- Gently whisk the entire contents of the slow cooker for about 1 minute to ensure the starter cultures are evenly distributed throughout all the milk.
Step 4: Culture Overnight
Now it’s time for the bacteria to get to work! This is the passive, overnight phase where fermentation occurs.
- Place the lid back on your slow cooker.
- To maintain a consistent, warm temperature for the cultures to thrive, wrap the entire slow cooker (including the base and lid) snugly with one or two thick bath towels or a small blanket. This insulation mimics an incubator, keeping the milk warm enough for fermentation without needing additional power.
- Let the slow cooker sit undisturbed in a warm spot for 8 to 12 hours, or overnight. The longer it cultures, the tangier and thicker your yogurt will become. Experiment with different times to find your preferred taste and consistency. Avoid peeking or stirring during this crucial period.
Step 5: Chill and Enjoy
Your yogurt is almost ready! A final chilling period solidifies the texture and stops the fermentation process.
- After 8-12 hours, unwrap the slow cooker. You should see a thick, custardy substance—that’s your homemade yogurt! There might be a layer of yellowish liquid (whey) on top; this is normal.
- Carefully transfer the yogurt from the slow cooker insert into clean, airtight glass jars or containers.
- Refrigerate the yogurt for at least 6 to 8 hours before serving. Chilling is essential for the yogurt to fully set and develop its optimal creamy texture.
- If you prefer Greek-style yogurt, you can strain the chilled yogurt through a cheesecloth-lined colander over a bowl for several hours in the refrigerator. The longer it strains, the thicker it will become. The liquid collected in the bowl is whey, which can be used in smoothies, baking, or discarded.
- Once chilled, stir your yogurt to achieve a uniform consistency. You can then enjoy it plain, or mix in honey, fruit, granola, or any other flavorings you desire.
Tips for Perfect Slow Cooker Yogurt Every Time
Achieving perfectly creamy, delicious slow cooker yogurt consistently requires a few key insights. These tips will help you navigate common challenges and master the art of homemade yogurt.
Monitor Temperatures Precisely
The most critical factor in successful yogurt making is hitting the correct temperatures. Use a reliable food thermometer for both heating the milk to 180°F (82°C) and cooling it to 105-115°F (40°C-46°C) before adding the starter. Temperatures outside this range can result in yogurt that won’t set or has an undesirable texture.
Don’t Disturb During Culturing
Resist the urge to peek or stir your yogurt during the 8-12 hour culturing period. Opening the lid releases essential heat and can disrupt the delicate fermentation process, leading to a thinner or less consistent final product.
Use High-Quality Starter
The quality of your starter significantly impacts your yogurt. Always use a fresh, plain yogurt with “live active cultures” explicitly stated on the label, or a reputable direct-set starter culture. If using homemade yogurt as a starter, ensure it’s no more than a week old for the strongest bacterial activity.
Experiment with Milk Types
While whole milk often yields the creamiest results, don’t hesitate to experiment. 2% milk can produce a lovely texture, and even skim milk can work, though the yogurt will be thinner. For non-dairy options, ensure they contain sufficient protein to set properly, and you may need a specific non-dairy starter. Avoid ultra-pasteurized milk if possible, as its proteins can be too denatured to form a firm set.
Troubleshooting Common Issues
- Yogurt is too thin/hasn’t set:
- Problem: Milk was too hot or too cold when the starter was added, killing or inhibiting the cultures.
- Solution: Double-check your thermometer and temperature readings for future batches. Ensure your starter is fresh and active.
- Problem: Not enough culturing time or insufficient warmth during culturing.
- Solution: Allow more time (up to 12 hours) or improve insulation with more towels.
- Yogurt is lumpy or grainy:
- Problem: Milk was heated too quickly or to too high a temperature, causing proteins to curdle.
- Solution: Heat milk slowly on the “low” setting and monitor the temperature.
- Problem: Starter wasn’t thoroughly mixed.
- Solution: Whisk the starter into a small amount of milk first, then combine thoroughly.
- Too much whey separation:
- Problem: Over-culturing.
- Solution: Reduce culturing time for your next batch if you prefer less tanginess and less whey. Note that some whey is normal, especially when making homemade yogurt.
By paying attention to these details, you’ll be well on your way to making perfect slow cooker yogurt every time, tailored to your taste and texture preferences.
Frequently Asked Questions About Slow Cooker Yogurt
Making yogurt at home often sparks several questions. Here are answers to some of the most common inquiries to help you confidently craft your own batches.
Can I use any type of milk for slow cooker yogurt?
While whole milk is recommended for its richness and ability to create a thick, creamy yogurt, you can use other types. 2% or skim milk will result in a thinner yogurt. Be aware that ultra-pasteurized milk may not set as firmly due to altered protein structures. For non-dairy options like soy or almond milk, look for varieties with higher protein content and ensure you use a compatible starter culture.
What if my slow cooker doesn’t have a “low” setting that gets to 180°F?
Most slow cookers on a low setting will eventually reach 180°F. The key is to monitor with a thermometer rather than relying solely on time. If your slow cooker runs very hot, you might need to heat it for a slightly shorter duration. Conversely, if it runs cool, it might take a bit longer. Always use your thermometer to confirm the milk reaches 180°F before turning it off.
How long does homemade slow cooker yogurt last in the refrigerator?
Homemade yogurt, when stored in airtight containers in the refrigerator, typically lasts for about 1 to 2 weeks. The exact duration can depend on the freshness of your milk and starter, as well as the cleanliness of your containers. Always check for any off odors or signs of mold before consuming.
Can I make Greek yogurt in a slow cooker?
Yes, absolutely! The slow cooker method makes a traditional, creamy yogurt. To turn it into Greek yogurt, simply strain the finished, chilled yogurt. Line a colander with cheesecloth and place it over a bowl. Pour the yogurt into the cheesecloth and let it sit in the refrigerator for several hours or overnight. The longer it strains, the thicker your Greek yogurt will become.
Do I really need a thermometer to make yogurt?
While some experienced yogurt makers might eyeball temperatures, a food thermometer is highly recommended, especially when you’re starting out. Precision in heating and cooling temperatures is critical for activating the cultures and ensuring your yogurt sets properly. Without it, you risk a runny batch or a failed fermentation.
Conclusion
Making homemade yogurt in a slow cooker is a truly rewarding endeavor that brings fresh, wholesome goodness right to your kitchen. From the satisfying act of creating something from scratch to the joy of customizing flavors and reaping the benefits of live probiotics, this simple method offers immense value. By following the easy steps of heating, cooling, culturing, and chilling, you unlock a world of creamy possibilities with minimal effort.
So, why not give it a try tonight? Imagine waking up to that perfect, tangy spoonful. What delightful toppings or mix-ins will you discover for your very first batch?